How to Workout with Resistance Bands at Home
Garth Stivey
How to Workout with Resistance Bands at Home
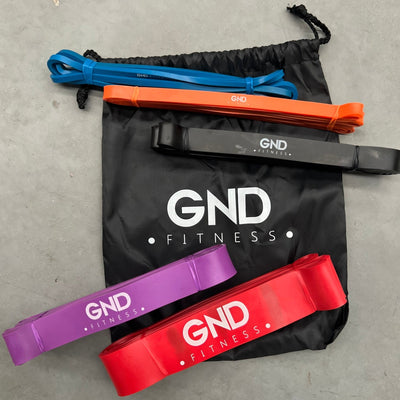
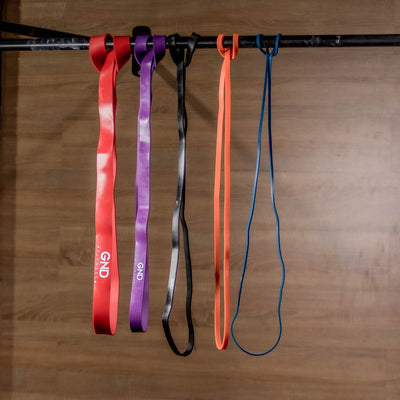
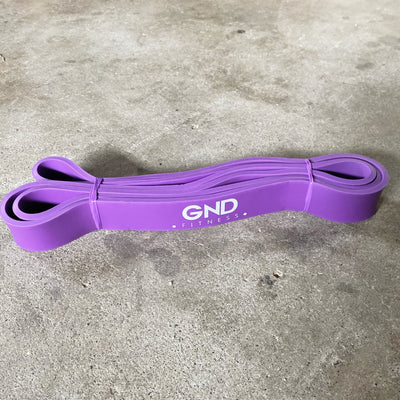
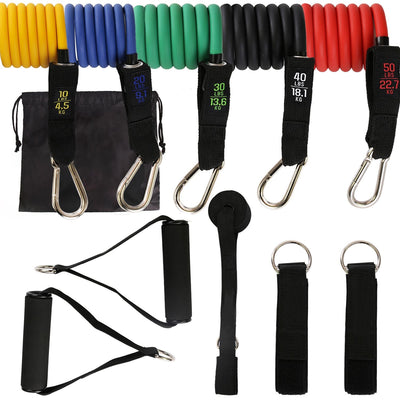
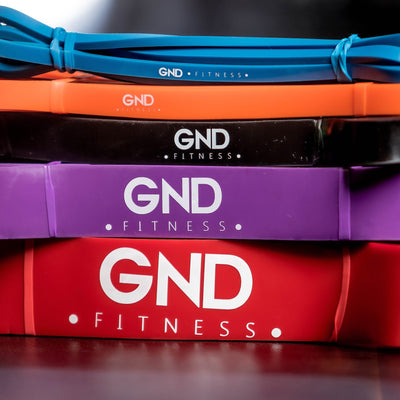
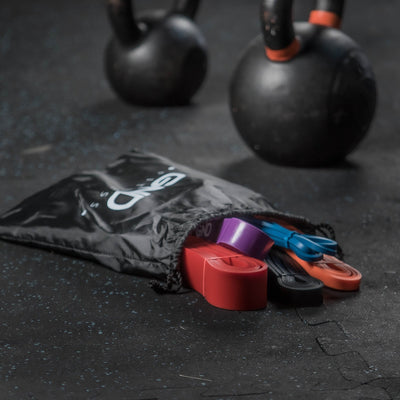
Working out at home with resistance bands is one of the most cost effective, versatile and effective ways to train at home. When you invest in a set of 5 resistance bands, complete with a door anchor, you are able to replicate almost any of the exercises that you can do with an expensive home multi-gym or a commercial gym membership.
To get the most out of your resistance band home workout, you need to learn and apply a few basic safety guidelines and performance tips. In this article, I’ll present the basics of what you need to know to optimise the use of your resistance band set.
Safety Guidelines
Here are eight safety tips to follow when using your resistance bands …
- If you have any medical condition, you should get clearance from your doctor before beginning a resistance band or any other exercise program.
- You should not use resistance bands if you suffer from an allergy to latex.
- Keep your bands away from the kids; they can be dangerous if used improperly.
- When using the door anchor attachment, make sure that the anchor is securely attached and that the door is locked. Let others in the home know what you are doing so they do not try to open the door during your workout.
- Never stretch your resistance bands more than 3 times their original length.
- Do not allow the band to get close to any sharp objects.
- To prevent deterioration of the band, do not store your bands in direct sunlight.
- You should clean your bands every couple of months. Use soap and water to clean the bands, then rub down with a cloth. Finish by sprinkling talcum powder on the band.
Attaching the Door Anchor
Your resistance band set will come with a door anchor. This is a device that features a stopper and nylon loop that you can loop the resistance band through. This allows you to perform exercises like lat pulldowns and tricep press downs that are done on a cable pulley machine.
Attaching the door anchor is pretty simple. Open the door and slide the anchor, with the stopper at the back, along the side or top of the door, depending on where you want the anchor point to be. Now close the door and lock it.
If you are using an internal door that does not have a lock, make sure that it is firmly closed and let everyone else in the home know what you are doing. Adjust the anchor to the exact position that you want it to be at and then loop the resistance band through the loop on the anchor. You are now all set to begin using the band for cable-like exercises.
Training Tips
The following suggestions will help you to train both hard and smart so that you get the optimum use out of your resistance bands.
Be Progressive
Often people start using a new piece of home exercise equipment and are too gung-ho and then quickly peter out. You want to do the opposite; start slowly as you begin to get used to the unique feel of resistance band training and then slowly build up your training time and intensity.
Start with an all-over body workout where you do 3 sets of 15 reps for each of the main muscles of your body. Here is a suggested beginner program you may wish to follow:
- Chest Press - 3 x 15 reps
- Lat Pull In - 3 x 15 reps (each side)
- Band Squats ( 3 x 15 reps)
- Shoulder Press - 3 x 15 reps
- Bicep Curls - 3 x 15 reps
- Tricep Pushdowns - 3 x 15 reps
Neutral Spine
Regardless of what exercise you are performing, you should be maintaining a neutral spine position. This position will protect your lower back and spine. A neutral spine involves standing with a natural curvature of the spine, with your core pulled in. Your head should be lined up with your back and your chest should be out.
An easy way to check for a neutral spine position is to stand with your back against a wall. If you are in a neutral spine position, you will have 3 contact points with the wall - the head, shoulder blades and glutes.
Focus on Form
You should concentrate on learning the correct exercise technique during the first few weeks of your resistance band workout program. Only when the technique becomes second nature to you, should you begin increasing the resistance.
When the time comes to think about increasing your resistance level, you should be looking for a range of between 10-15 reps as your guide. If you are doing 10 reps, the last two should be difficult but manageable. As you get stronger and you can get to 10 reps without too much effort, then you should use the next band strength colour. With this band, you should again struggle with the last couple of reps.
Four Final Training Tips
- When you are doing standing exercises with the band under your feet, make sure the band is under the middle of your feet and that your feet are shoulder-width apart. This will avoid them from slipping out from under your feet and smacking you in the face.
- Do not train with a resistance band while wearing bare feet.
- Know what muscle group each exercise is targeting and concentrate on engaging that particular muscle in isolation. If you struggle to feel the burn in the area you are training, drop to the next resistance band down until you start to feel the correct muscle engaged.
- Take 2-3 seconds on the eccentric (lowering) part of an exercise and 1-2 seconds on the concentric (lifting) part of the exercise. For example, if you are lat pull downs, so explode on the pull (lifting) and slow and controlled for the release (lowering). The same goes for chest press, explode on the push motion (lifting) and slow and controlled when you bring the bar back to your chest (lowering).