How to Use Resistance Bands for Injury Recovery
Garth Stivey
How to Use Resistance Bands for Injury Recovery
Coming back from an injury can be a slow, frustrating experience. A key to getting back to your pre-injury condition is to select the right rehab tool. Resistance bands have proven to be an excellent choice due to their safety, versatility and scalability. In this article, I’ll guide you through the use of resistance bands as a means of injury recovery.
Band Recovery Benefits
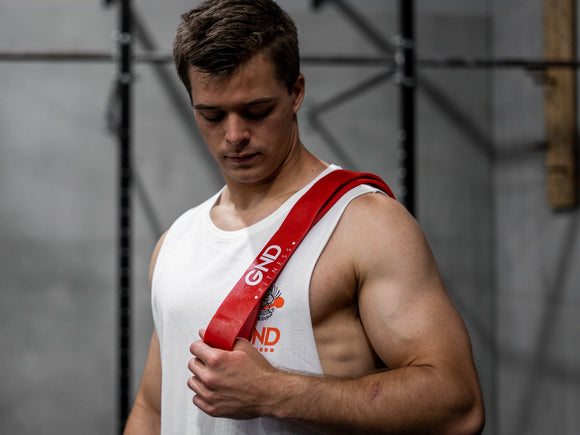
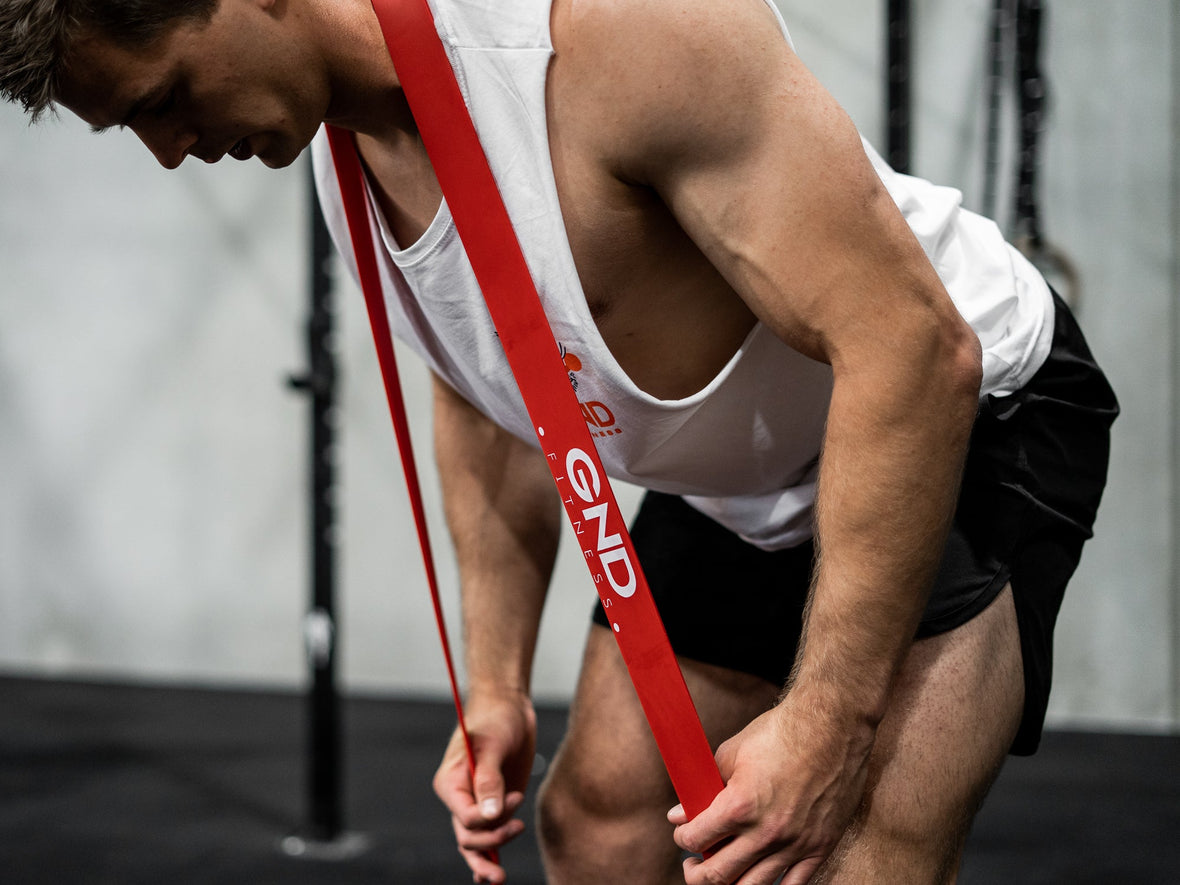
The compactness of resistance bands makes them an ideal tool to have on hand for injury recovery. They are light and small enough to take with you wherever you go. Tube bands can be thrown into the corner of your workout bag, while booty bands can fit into your pocket.
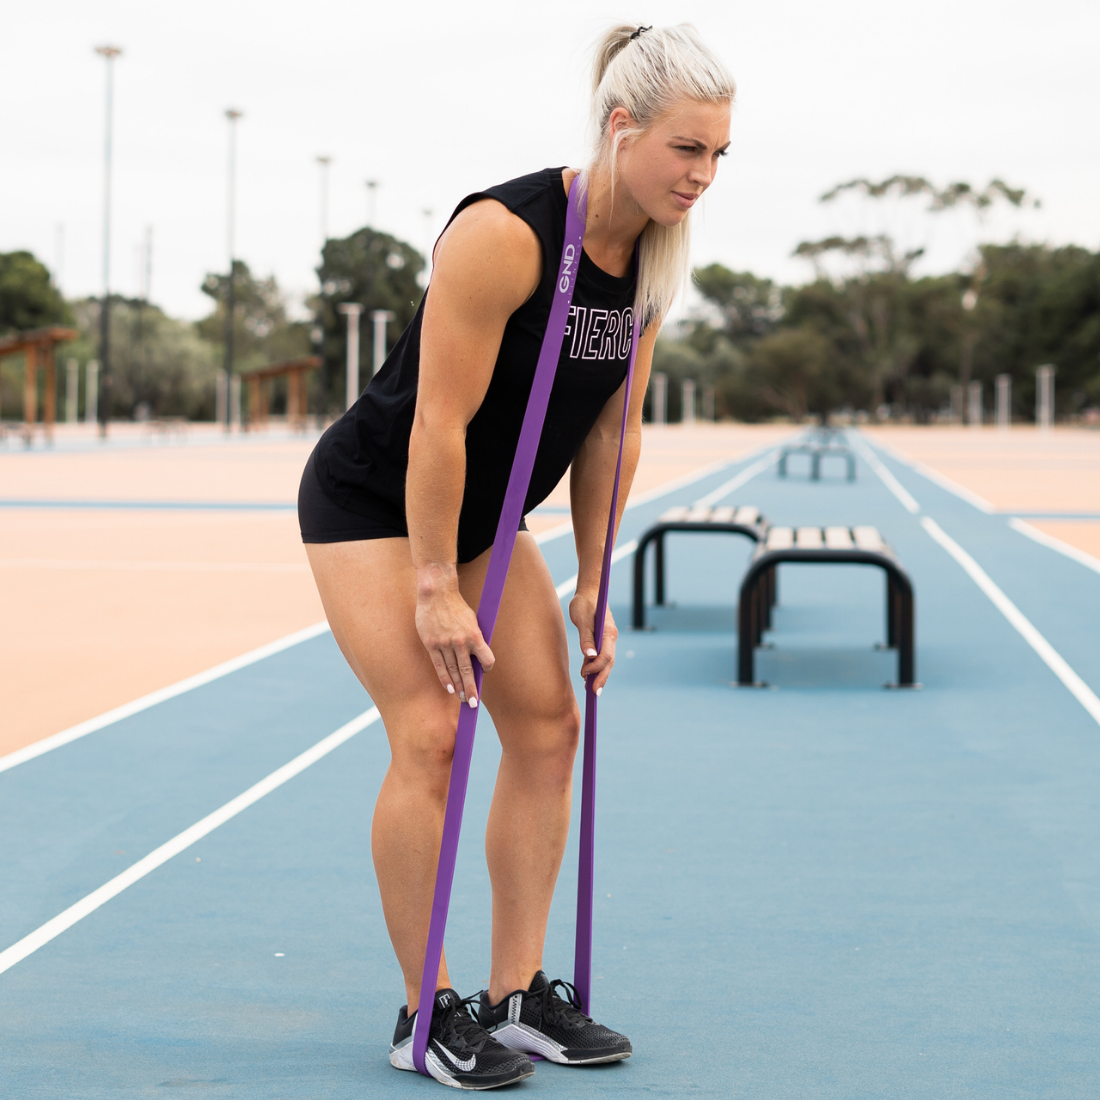
Bands are available in a range of resistance levels, which means that you can gradually increase the resistance level as your injured body part regains strength. You can also adjust the resistance level of a band by increasing or decreasing your distance from the anchor point, something that you cannot do with free weights.
Resistance bands will improve the strength of your muscles and enhance your joint stability. At the same time, they will boost your flexibility, balance and coordination. With resistance bands, you are also able to perform unique movements that you can’t do with traditional free weights.
Although resistance bands are useful for rehab on all injuries, they are especially good for the following specific injury types …
- Tennis elbow
- IT band injury
- Ankle sprain
- Knee strain
- Dislocated shoulder
- Hip bursitis
When to Start Using Resistance Bands
You should consult with your medical professional before using resistance bands. For most muscular injuries, he or she will advise you to begin very light resistance work within a week of suffering from the injury. As a general guide, you should wait until the pain from the injury has gone before you begin to use bands for rehab.
There are three stages of exercise recovery:
- Acute stage
- Secondary stage
- Functional stage
During the acute stage, you will generally perform limited movement actions that do not use any resistance. Your goal during this stage is to be able to move the affected area through its full range of motion.
It is during the second stage that light resistance bands can be introduced to the recovery process. Bands are used as a transition from zero resistance back to the types of traditional free-weight resistance you were using before the injury.
During the functional stage, you will be working up to using resistance bands that are equivalent in intensity level to the weights you were using before your injury.
Resistance Band Injury Training Tips
- Perform every movement slowly and deliberately
- Make sure that the band is always securely anchored; if you are using an internal door for an anchor, lock that door if possible.
- Perfect your form. Bands allow you to replicate the free weight or cable machine exercises that you were doing prior to your injury. Take this as an opportunity to analyse your exercise movement with the goal of correcting any bad form habits you have developed.
- Be patient with your body. Do not try to force strength improvement. Increasing the band level every week or two may not be realistic. Let your body rather than your mind be the guide.
- Always maintain good posture, with a neutral spine position.
- No matter what exercise you are doing, make it your goal to move the muscle through its full range of motion.
What Exercises Should You Do?
The exercises that you do as part of your injury rehab program should be ones that move a muscle through its full range of motion. Your goal should be to gradually increase the strength of the muscles, tendons and ligaments that surround your joints. Here are the single best exercises to strengthen each muscle group through its full range of motion.
Chest:
Band Chest Press
- Secure a tube resistance band anchor to the top of an internal door.
- Stand two feet in front of the door and grab the handles with an overhand grip, holding them at shoulder level with your elbows bent at 90 degrees.
- Press the band handles forward and together to meet at mid-chest level.
- Reverse under control and repeat.
Lats:
Lat Pull-In
- Secure a tube resistance band anchor to the top of an internal door.
- Kneel in front of the door, facing it and reach up to grab the handles in your right hand. Your arms should be at a 30-degree angle to the floor.
- Pull the band down and in toward your hip, contracting the last in the bottom position.
- Reverse under control and repeat.
Trapezius:
Shrugs
- Stand with a resistance band looped under your feet and held at arm's length at your sides.
- Shrug your shoulder as high as possible toward your ears without bending your arms.
- Lower and repeat.
Biceps:
Bicep Curls
- Stand with a resistance band looped under your feet and held at arm's length at your sides, palms facing forward.
- Curl your right hand up to your shoulder, squeezing in the top contracted position.
- Lower and repeat with your left hand.
Triceps:
Triceps Pushdown
- Secure a tube resistance band anchor to the top of an internal door.
- Stand two feet in front of the door, facing it and hold the band handles at chest level, with your elbows in at your sides.
- Press down to fully extend your arms.
- Reverse under control and repeat.
Quads:
Leg Extension
- Secure a resistance band to the rear leaves of a sturdy chair. Sit on the chair and then loop the other end of the band over your lower shins.
- From a start position with your knees fully bent, extend your legs to 80 percent of extension. Lower tinder control and repeat.
Glutes:
Glute Kickback
- Secure a resistance band to the bottom of an internal door. Loop the other end of the band around your left shin.
- Stand in front of the door, about two feet away from it.
- Draw your left knee forward and then kick your foot back to full extension behind you.
- Reverse under control and repeat.
Remember to work with your medical specialist as you integrate resistance bands into your rehab program. Be patient, make gradual improvement and let your body guide you to full recovery and you will soon be back to your pre-injury condition.